Creators and the portal
Organise each Creator’s accounts and Fanvue connection, then choose what she sees in her portal and reports.
On this page
A Creator keeps one person’s X accounts, media, page information and reporting together. Assign every account to the Creator it works for. Accounts are not shared between Creators.
Add a Creator
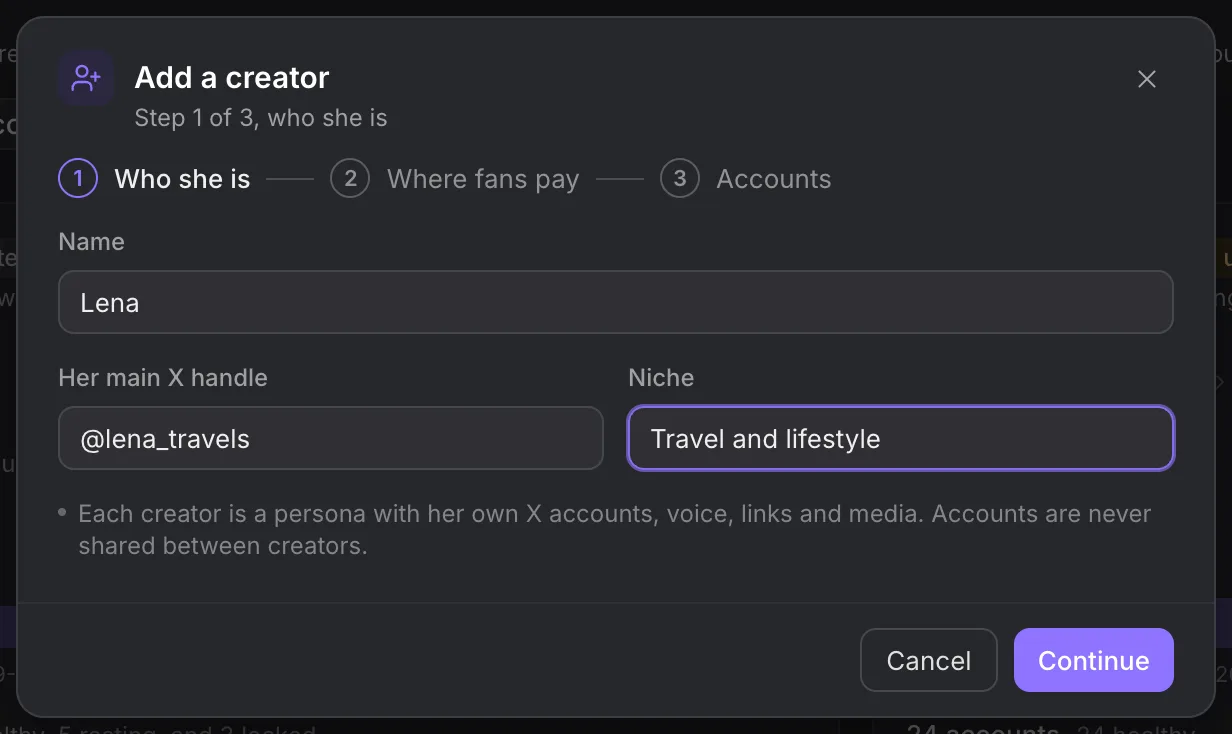
- Open Creators and choose Add creator.
- In Who she is, fill Name, Her main X handle and Niche.
- Choose Continue and fill Where fans pay with her platform and page information.
- Choose the accounts for her in Accounts and finish the dialog.
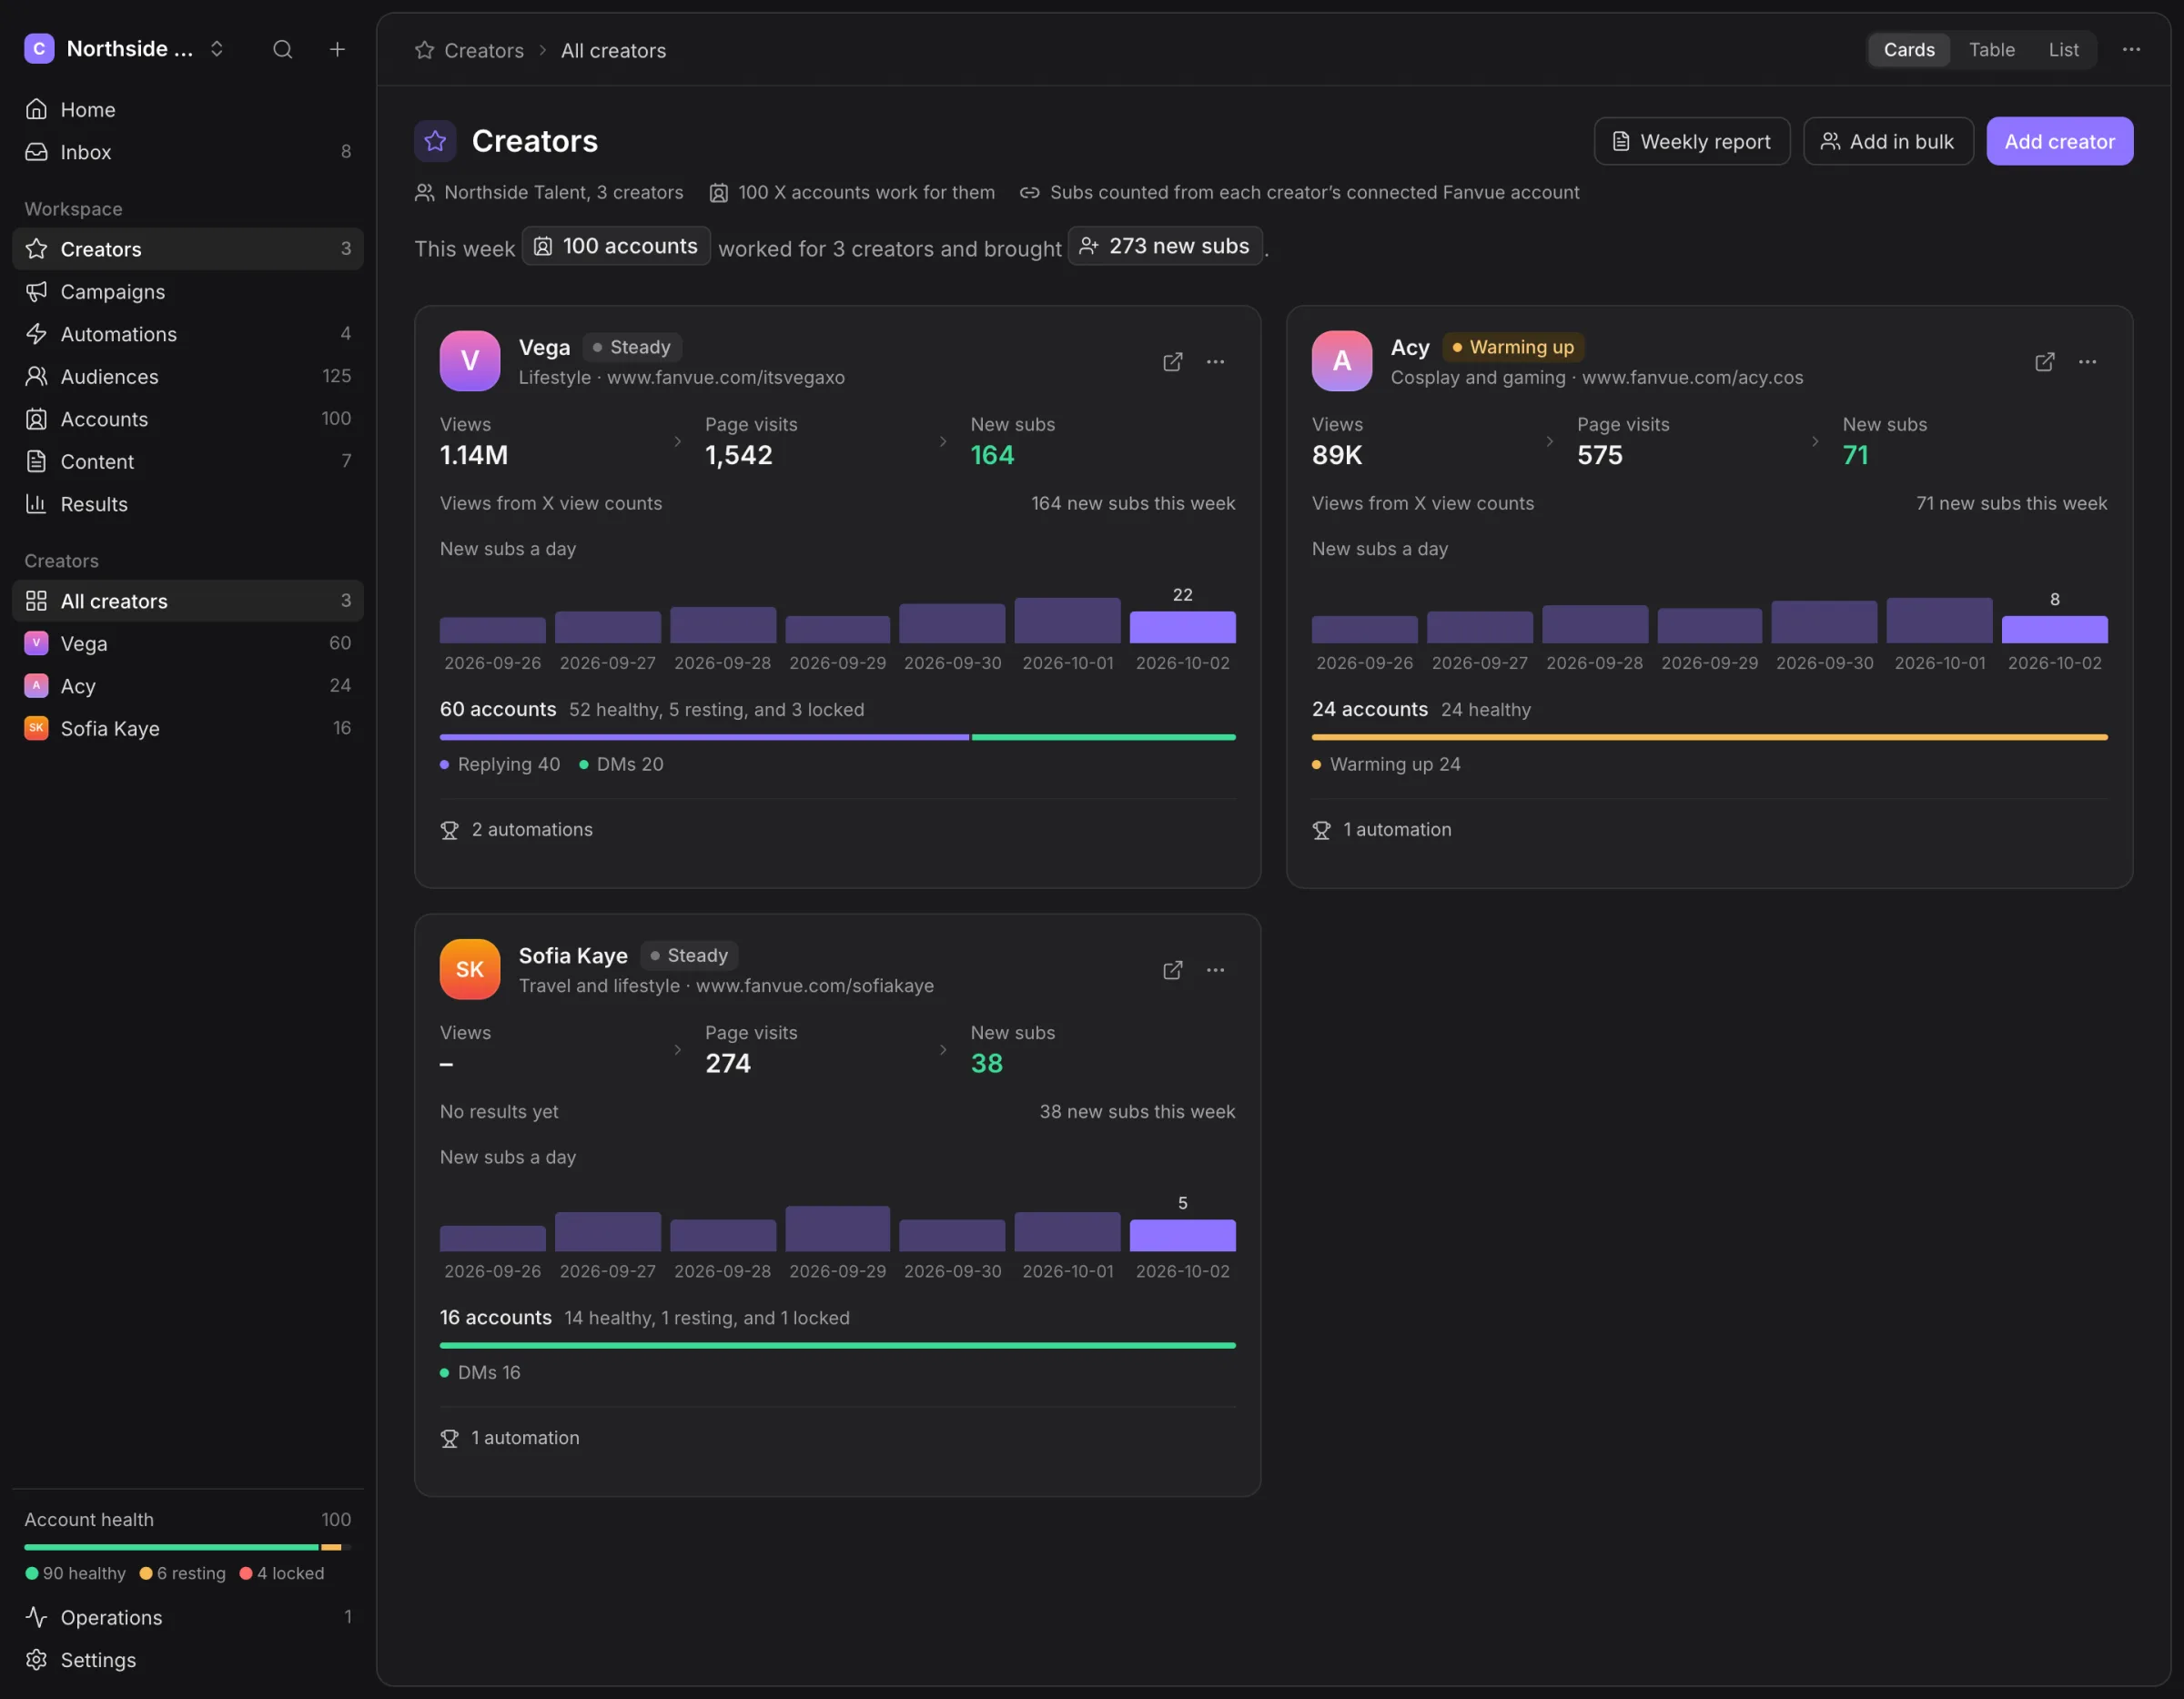
Cards, Table and List give you different views of the same Creators. Search or select a Creator to open her workspace. Add in bulk lets you prepare several Creator rows together; review their names and page details before adding them.
Work inside a Creator
Her Overview shows available results and account health. Accounts shows the accounts and groups that work for her. Profiles holds profile-editing templates; Media contains her files. Platforms manages her Fanvue connection, and Portal manages her access.
Use an account’s detail page when you need to inspect its session, notes or activity. Moving an account between groups changes which group can use it; review the automations that use those groups before moving it.
Profile changes are browser work. A queued edit is not proof that X accepted it. Check the account’s activity for a confirmed result before assuming its name, bio, website, avatar or banner changed.
Connect Fanvue
Open Platforms and choose Connect on Fanvue. Complete the connection with the authorised Fanvue identity. Send her a link instead lets the Creator connect her own account without sharing her login with the agency. That connection link works once and expires after seven days.
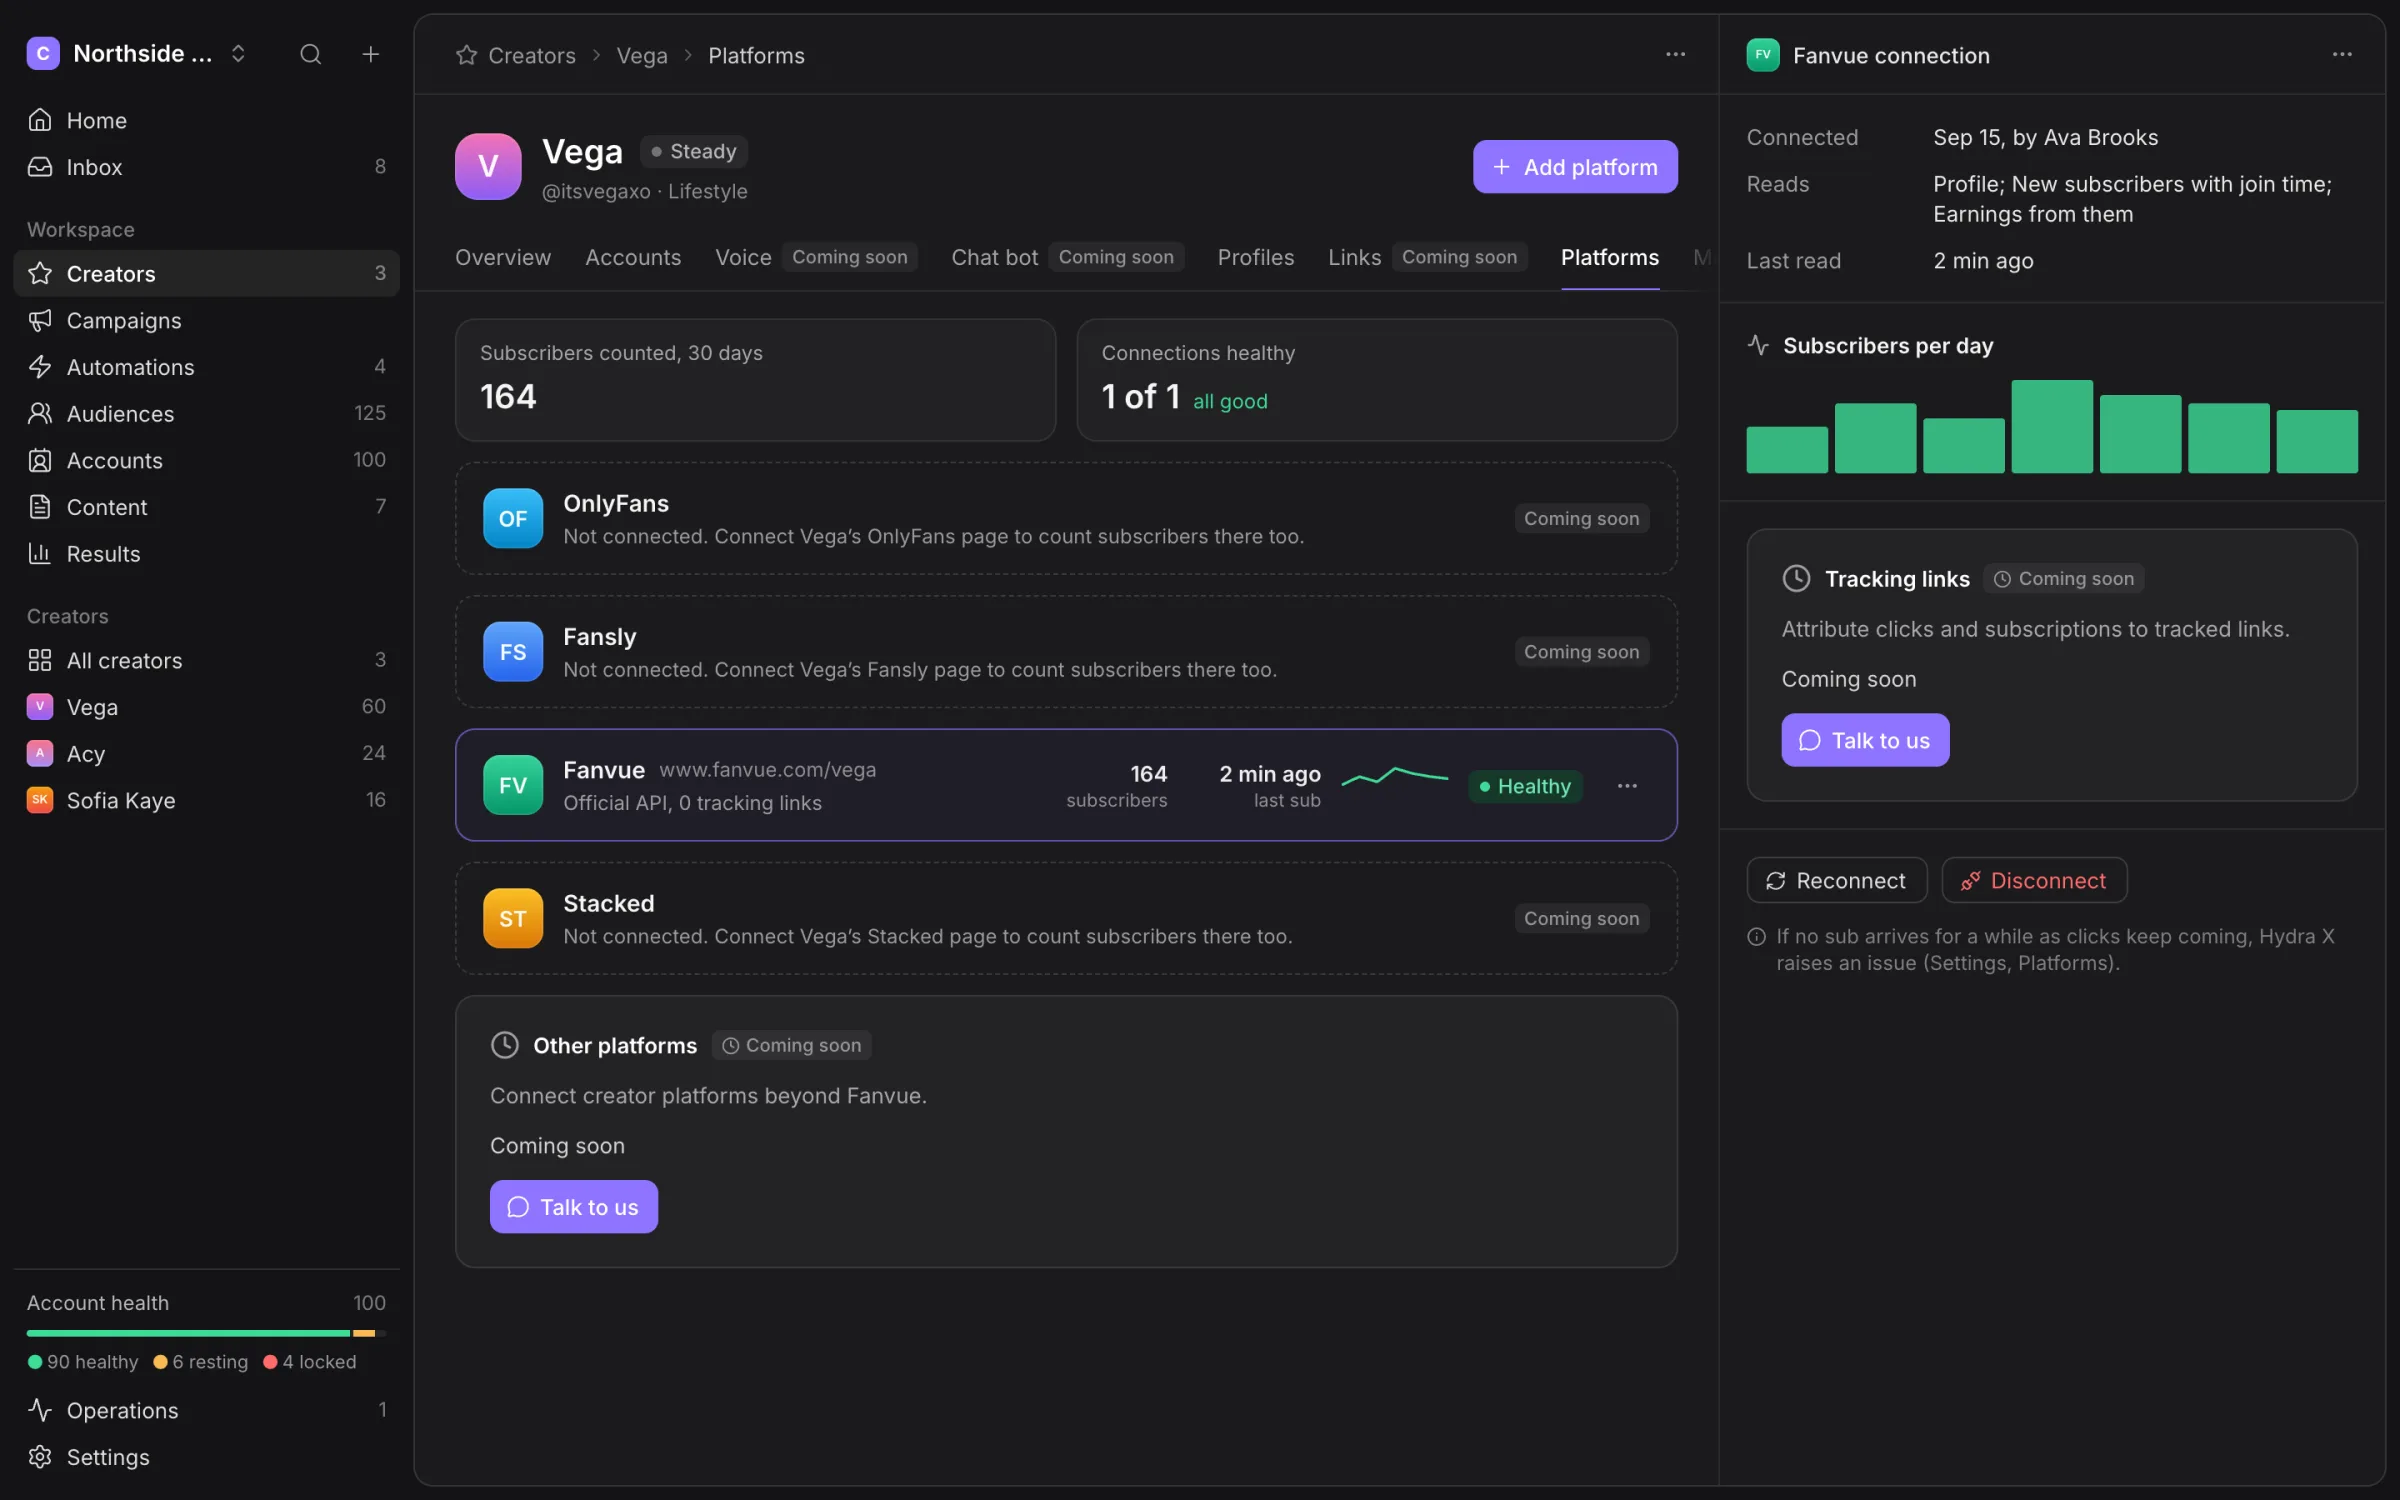
The connection reads Fanvue data. Hydra X does not post or send messages on Fanvue through this connection. A stored page address alone does not establish a connected platform or subscription count.
If a connection fails or becomes disconnected, reconnect it from Platforms. Results may show a dash while the data is unavailable; do not treat that as zero subscribers.
Give a Creator portal access
- Open the Creator’s Portal tab.
- Enter her email in Access and choose Invite followed by her first name.
- Set Earnings from them and What your agency did according to what you want her to see.
- Use Preview as to inspect her view before relying on it for a client report.
Each sign-in link works once, for 15 minutes. Resend link invalidates the previous link. Remove access stops her access while preserving the saved visibility choices and history.
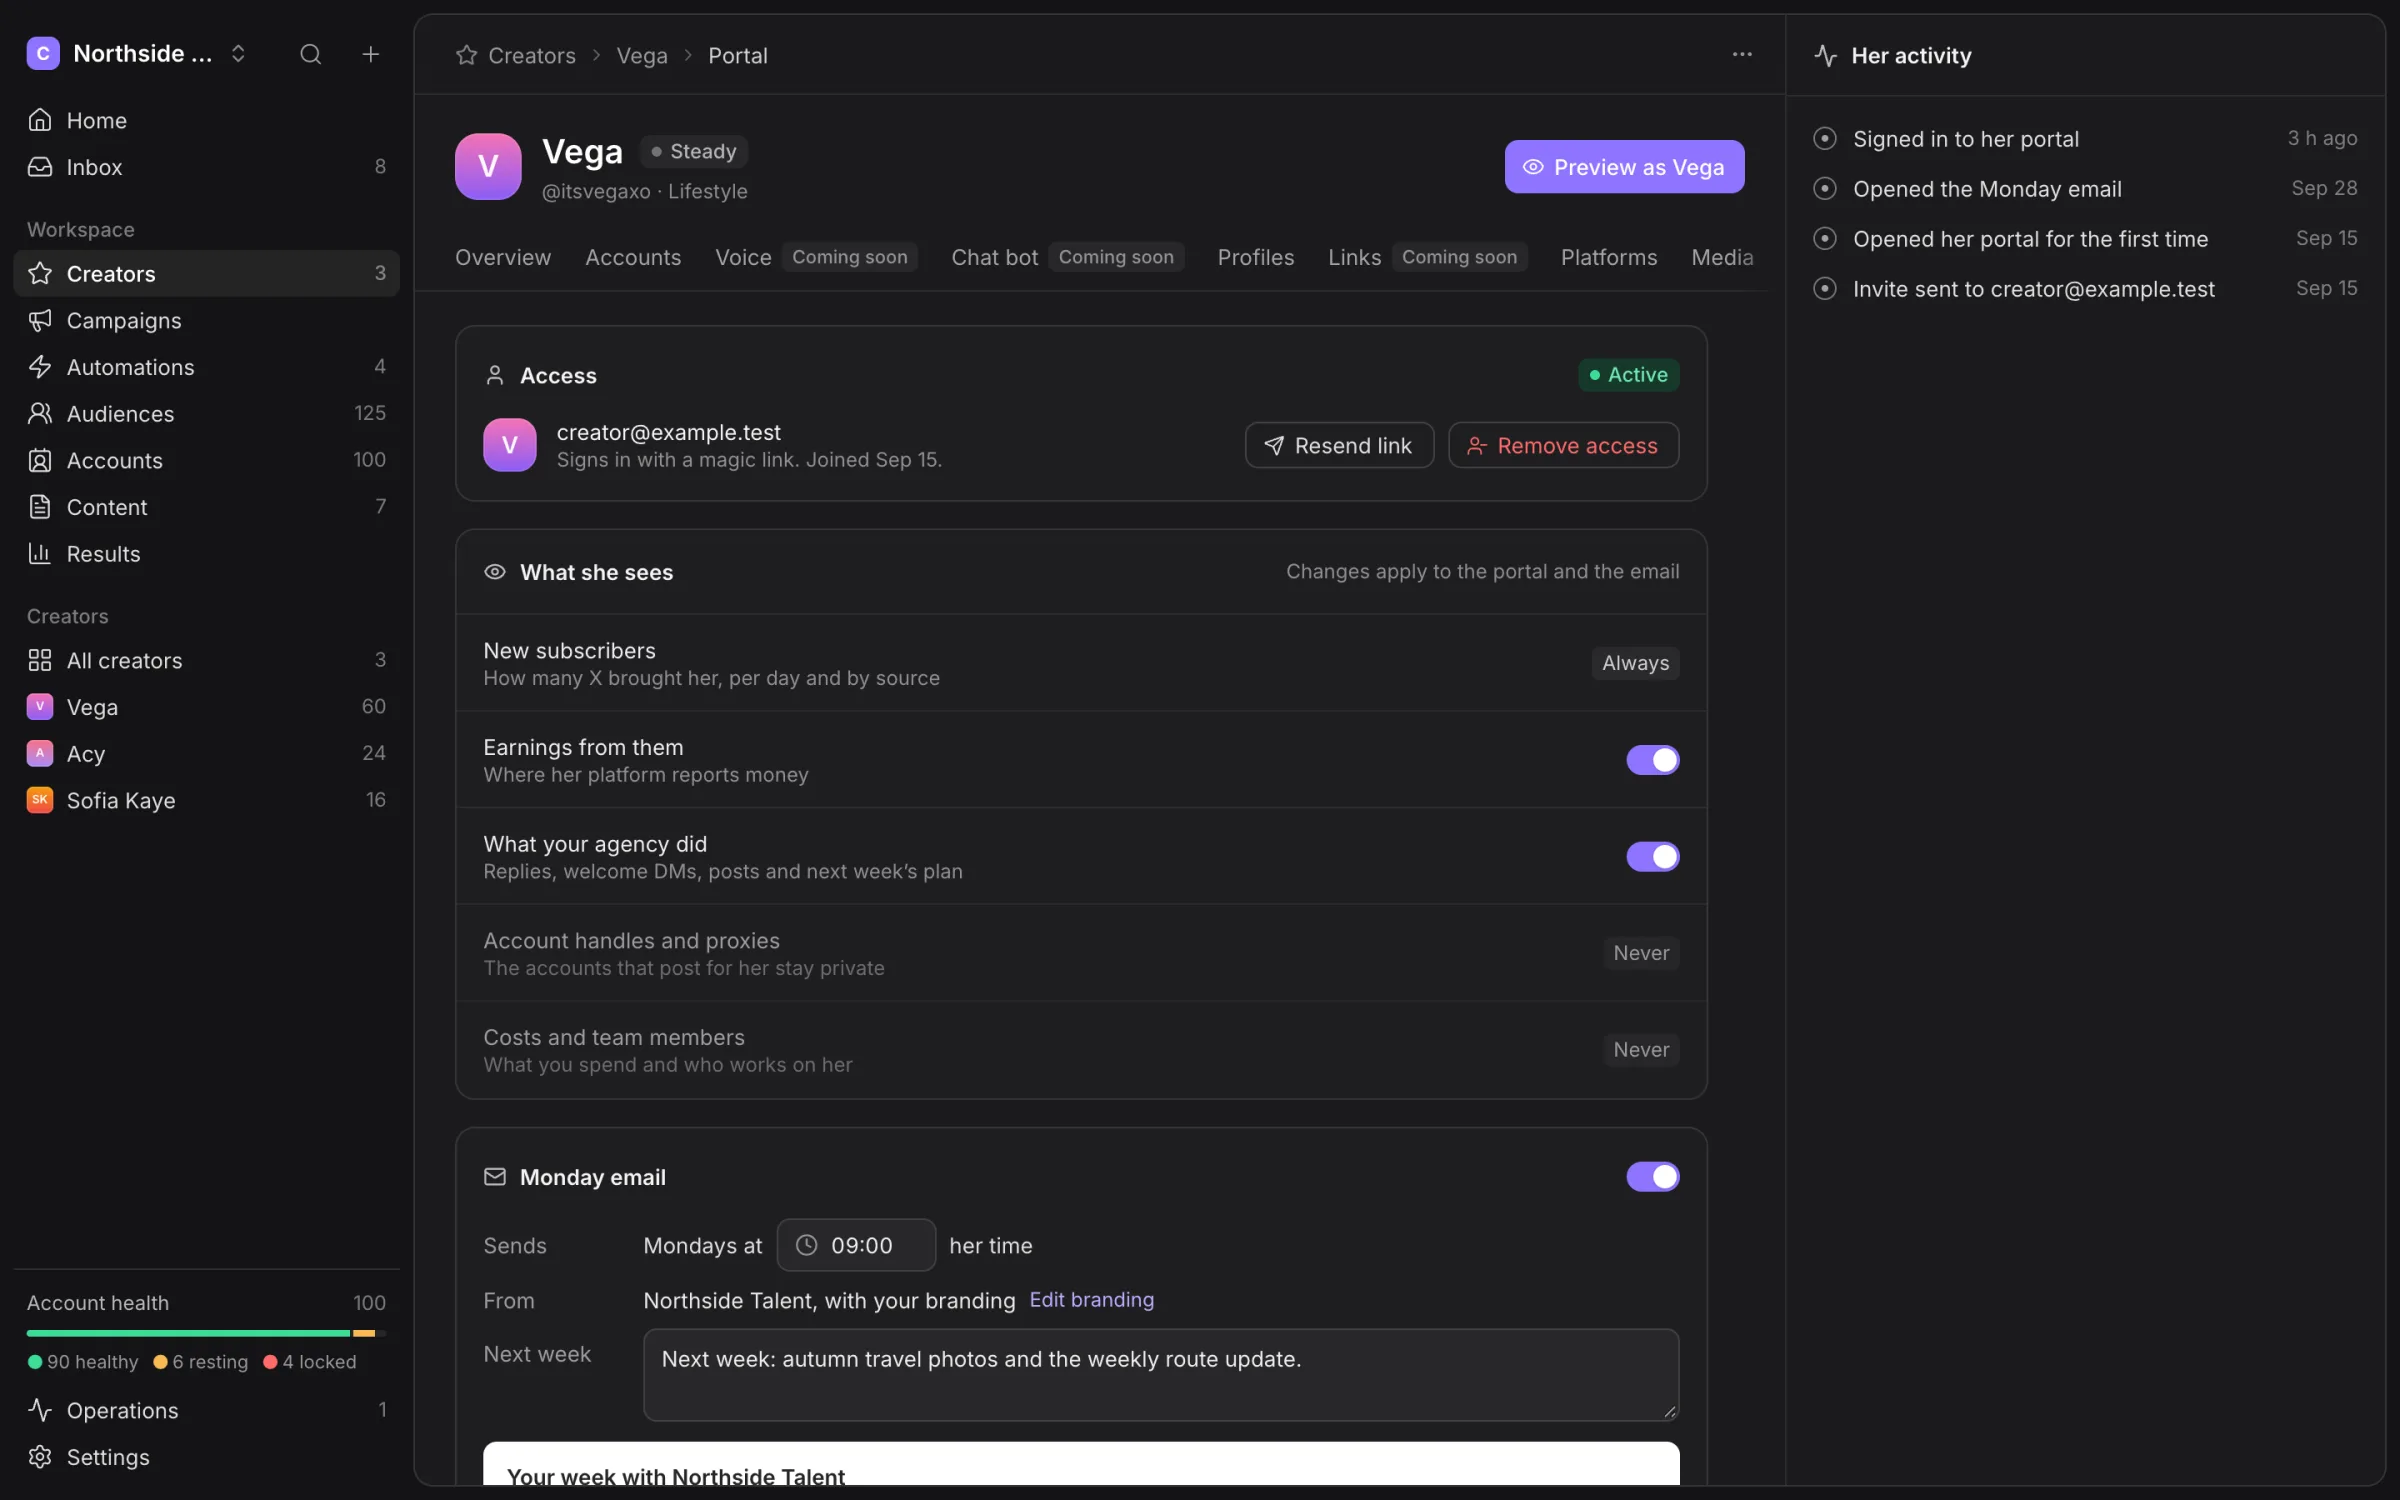
New subscribers is always included. Account handles and proxies and Costs and team members are never included. Turning on agency-work reporting does not expose the account identities that carried it out.
Monday email and branding
The Monday email uses the portal’s visibility choices and your report branding. Add the next-week note you want the Creator to receive, check its preview and send a test to yourself before enabling the recurring email.
A Creator can unsubscribe from her email. Your team cannot override that choice; she must enable it again herself.
Use Settings → Report branding for the agency identity used in reports. For other reporting schedules and recipient formats, read Results and reports.
Prepare profile templates
Open Profiles and choose New template. Edit the supported display name, bio, profile-photo collection, banner collection and location values. Use Preview and Shuffle to inspect possible name and bio combinations.
Import CSV reads the name, bio and location columns for a template. Check the resulting values before applying them. The preview is illustrative; it is not a read of the account’s current X profile.
Choose Apply to accounts, review the selected accounts, fields and spreading rules, then inspect See runs. Applying a template queues browser edits. Confirmed activity establishes what changed on X.
The Creator’s Automations tab lists her jobs. Her Media tab keeps her collections and files together; follow Media library and collections for sharing and reuse.
For the instructions your Creator needs after receiving an invitation, send her Creator portal.